

The Art of Creating Custom Graphics
Tips from Wagner's In-House Design Team
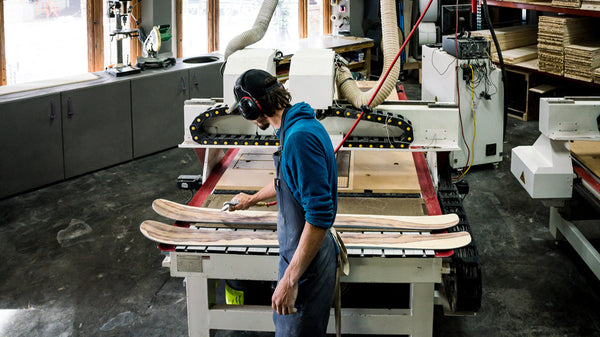
When it comes to building custom skis, half of the fun is choosing your graphics. Seeing your ski designs come to life is almost as thrilling as seeing them buried by 2 feet of fresh on a pow day. But designing your own skis isn’t always as easy as it sounds.
Skis are a weird shape, making composition tough to nail, and what may look sweet on your computer can come out looking like a blurry mess on an actual topsheet. The good news is that Wagner’s designers have seen it all, and they know exactly how to take your ideas and make your new boards look as awesome as they ski.
To give you a few tips on how to do it right, we asked Wagner’s expert ski designers, Reymi Kidder and Roland Atema, for a little guidance. Here’s what they had to say.

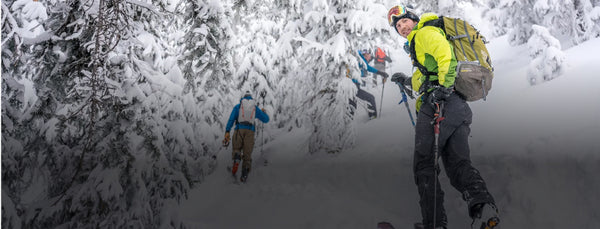
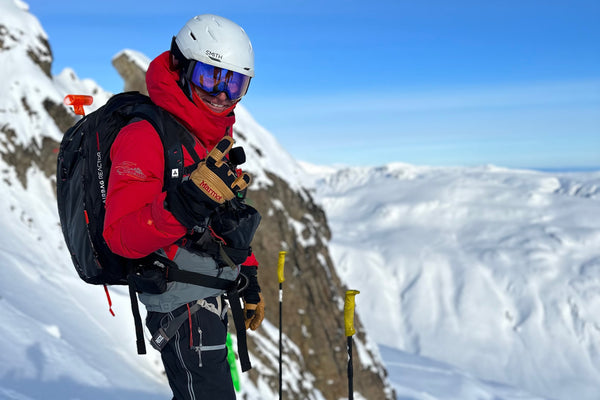
The Wagner Custom team with their go-to skis
Start with either a very broad idea or a very specific one.
Providing a rough or simple idea to the designer allows for flexibility, which helps the designer come up with a composition that’s right for the ski shape. “It’s better to provide less direction than dictate 15 little details,” Atema said.
On the other side of the spectrum, being extremely specific can work, too, as the more clearly you can describe what you’re envisioning, the easier it is for the design team to bring it to life. “Providing high-resolution reference images and allowing room for interpretation helps designers create something that will translate beautifully onto the skis,” Kidder added.

Photo by Will Berger
Avoid using images that are already formatted to a ski shape.
Always send in a full image without the ski outline, which will allow the designer to properly adapt the artwork to the ski template. “Designs work best when they start as full images,” Kidder said.
Don’t rely on AI for the finished image.
When it comes to using AI-generated images, treat them as inspiration rather than final artwork, as the images are produced at a resolution far too small for large-format printing. “What customers see on screen can be closer to a one-inch image when translated to print size,” Kidder said.

Think about the design in sections.
Multiple images can be helpful if you’d like more than one element to flow across the ski, such as a mountain range on the top and a forest on the bottom. “It helps to think about the design in sections rather than as one single canvas,” Kidder said.
Don’t be afraid to be original.
“We’ve gotten some absurd requests,” Atema said, laughing. “We’ve made two different laser cats and a full-blown illustration of the Hot Cheetos Cheetah. They turned out amazing.”

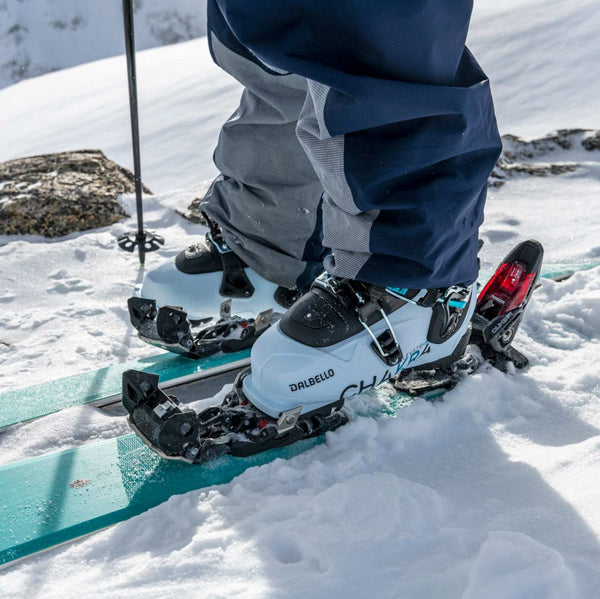
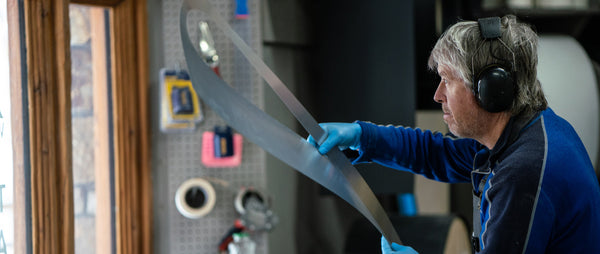
Photo by Jack Plantz
Don’t stress about the small stuff.
Atema recommends seeing the overall picture, as your skis are going to be at least 5 feet away from your face every time you’re looking at them, and the overall composition is more important than the minute details.
Keep the best parts of your design on the tips and tails.
Remember that the space between the toe and heel of your binding will be invisible when you’re clicked in—so be sure to center your graphics fore and aft of it.
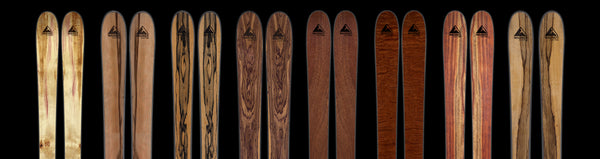
Before you embark on putting in the time and energy into creating custom graphics, be sure to take a spin through our wood veneers, our artist series, and our house graphics. You may find one you love or just get inspired to create your own. Regardless of what option you choose, “once your skis hit retirement, you’ll probably want to throw them on the wall,” Atema said.
Need some inspiration? Check out our top custom designs from the '25-'26 season here: Fan Favorite Graphics.

--
Article by Kimberly Beekman
Kimberly Beekman is the former editor-in-chief of the late, great Skiing Magazine (RIP), and a longtime editor of SKI Magazine before that. She currently uses the title of “freelancer” as a beard to ski powder all over the world. She lives in Steamboat, Colorado, with her wonderful daughter and terrible cat.